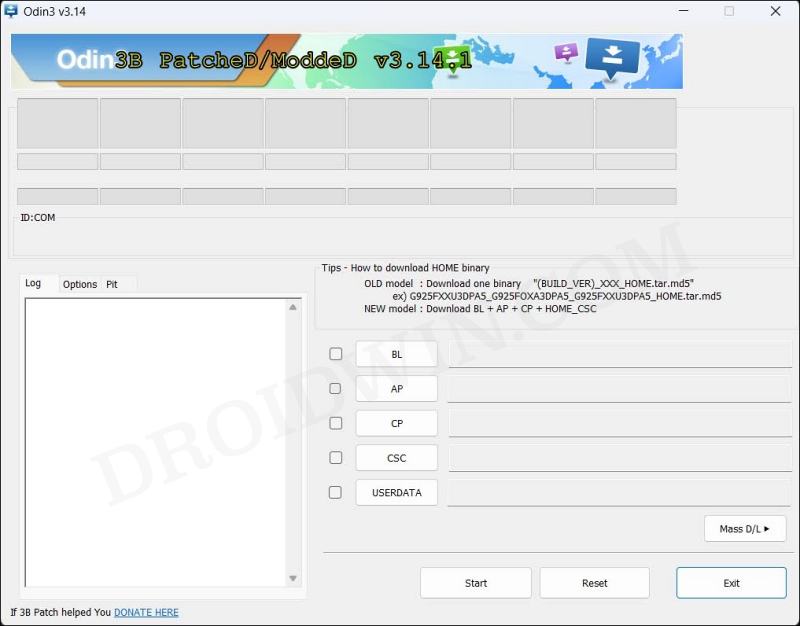
If you are yet to receive an OTA but have got the firmware file, then you could manually flash it via Odin. Likewise, if your device gets stuck in a bootloop or softbrick state, then you could easily bring it back to life by flashing the firmware via Odin. Moreover, if you are planning to gain administrative access by rooting. your device via Magisk, then you will need to flash the patched AP file via Odin. Not to mention the fact that flashing custom recovery like TWRP also requires the use of Odin. But you would then ask that all these tasks could easily be carried out via the normal Odin software as well, so why is there a need for a patched one? Great question! So let’s make you aware of some scenarios wherein you might need a patched Odin instead of the regular one.
Difference between Normal Odin and Patched Odin
The difference between the normal and patched Odin is the fact that the normal Odin tends to perform a few additional checks on the firmware as well as the device and its carrier before allowing you to flash the firmware. On the other hand, the patched Odin does no such checks. So isn’t it a good thing for the checks to be carried out beforehand? Well, not in every scenario.
In some instances, the tool might raise a false flag and fail the test even if you are using the correct device and the right firmware. As a result of this, you will not be able to flash any firmware and would instead be greeted with error messages like “FAIL! Model mismatch fail”, “FAIL! SHA256 is invalid”, or “FAIL! Blocked carrier”. So to overcome these issues, the patched Odin does not check for the model, carrier, and SHA256 and hence you will have to deal with the aforementioned errors.
Download Patched Odin
Now that you have a decent idea of the patched Odin, you could download it from the below link and then get started with the flashing process [Credits: realbbb]
How to Flash Firmware via Patched Odin
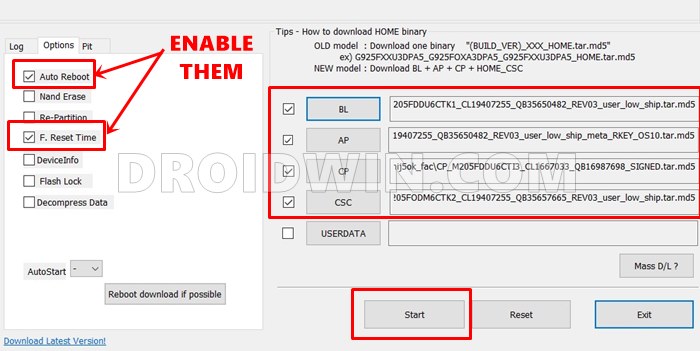
Flashing firmware via patched Odin is exactly the same as is with the normal Odin. Just load the firmware’s BL, AP, CP, CSC/Hom_CSC files into Odin’s respective slot, boot your device to Download Mode, and then hit Start on Odin. The flashing process will now start and would be completed within a few minutes. To know in-depth instructions regarding the same, do refer to our guide on How to Flash Stock Firmware via Odin.
So this was all from this guide on how you could download the patched Odin, its difference from the normal Odin, and the steps to use it to flash the firmware. If you have any queries concerning the aforementioned steps, do let us know in the comments. We will get back to you with a solution at the earliest.
How to Nand Erase and Re-Partition Samsung via OdinDownload NetOdin: Flash Samsung Firmware WirelesslyHow to Create Samsung Combination Firmware and Flash it via OdinHow to Root any Samsung device via Magisk and Odin
About Chief Editor


